• Skip to main content
  • Skip to primary sidebar
Iekel Road Home
menu icon
go to homepage
subscribe
search icon
Homepage link
  • DIY
  • Design
  • About
    • Email
    • Facebook
    • Instagram
    • Pinterest
  • ×

    How to Build a Modern Peg Rail Shelf

    Published: Jan 8, 2021 · Modified: Mar 7, 2021 by Aly @ Iekel Road Home · This post may contain affiliate links · This blog generates income via ads · #sponsoredpost ·

    314 shares
    • Share
    • Tweet

    Learn how to build a wooden peg rail shelf with this step by step in-depth tutorial.

    Our entryway was missing something. After removing the closet in phase one of this renovation we needed to add back in some hallway storage. Still needing to keep things simple and open we decided to add a wall to wall modern peg rail shelf.

    modern peg rail with shelf to store plants

    Gather Supplies

    Pine 1"x4" Board

    Pine 1"x6" Board

    ¾" Dowel

    Wood Glue

    ¾" No.8 Wood Screws

    2" wood screws

    Tools Required

    Tape Measure

    Box Level

    Cordless Drill

    ⅛" Drill Bit

    ¾" Spade Bit

    ½" Countersink Drill Bit

    18 Gauge Nail Gun

    How to make a wooden peg rail shelf

    Follow these step by step instructions to build your own custom peg rail shelf. Length of shelf not included as we made ours custom to our space.
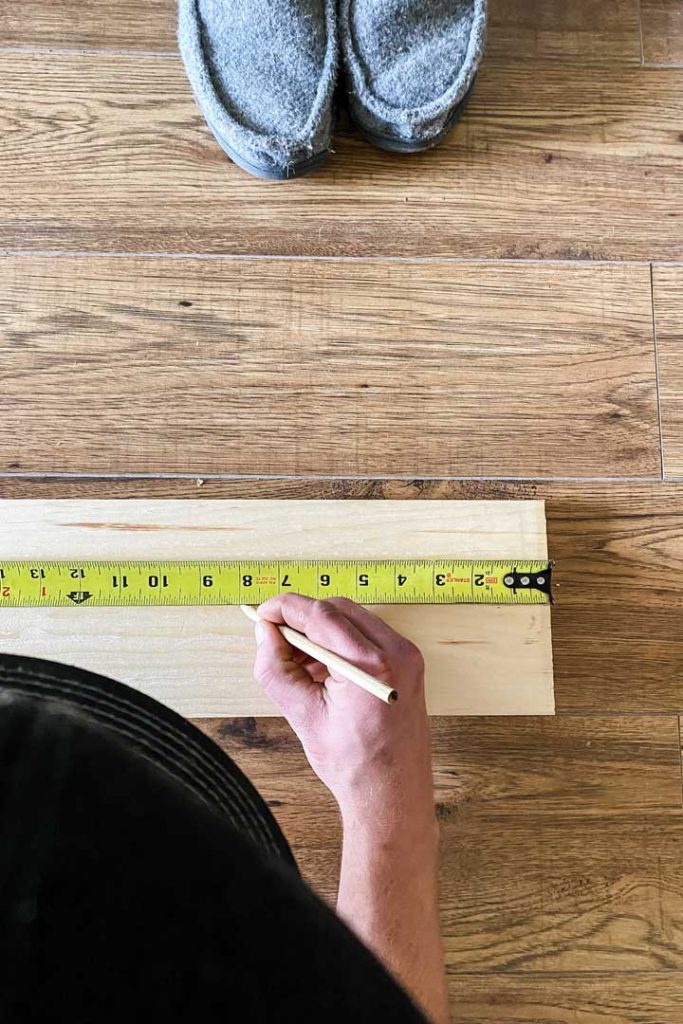
    Measure:

    Mark the middle of the 1"x6" pine board. Then, mark every 8". This is where the pegs will go.
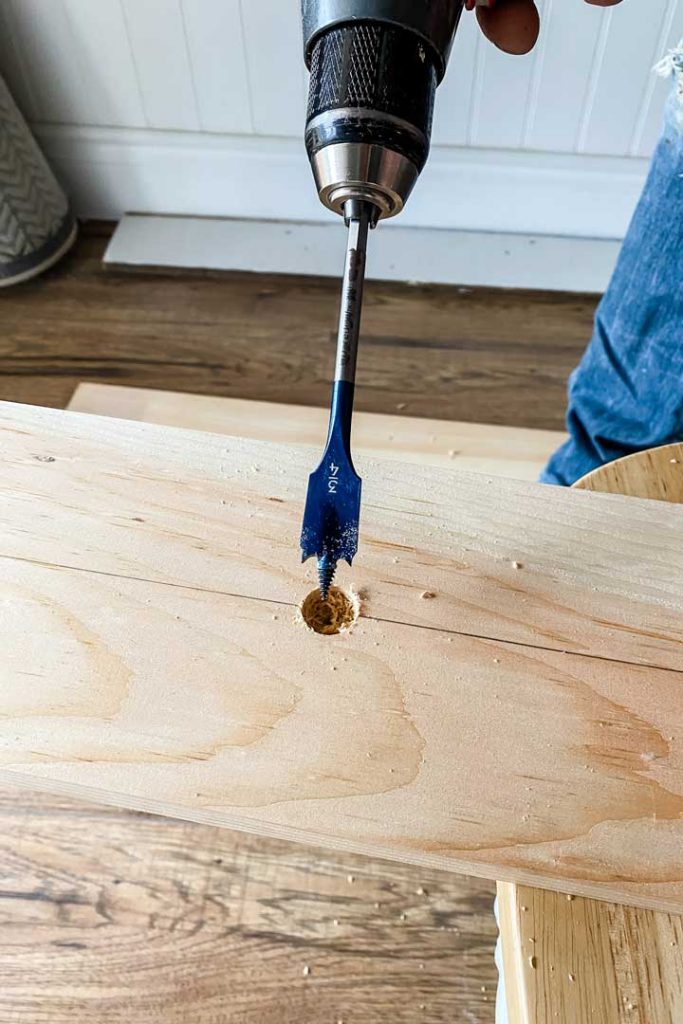
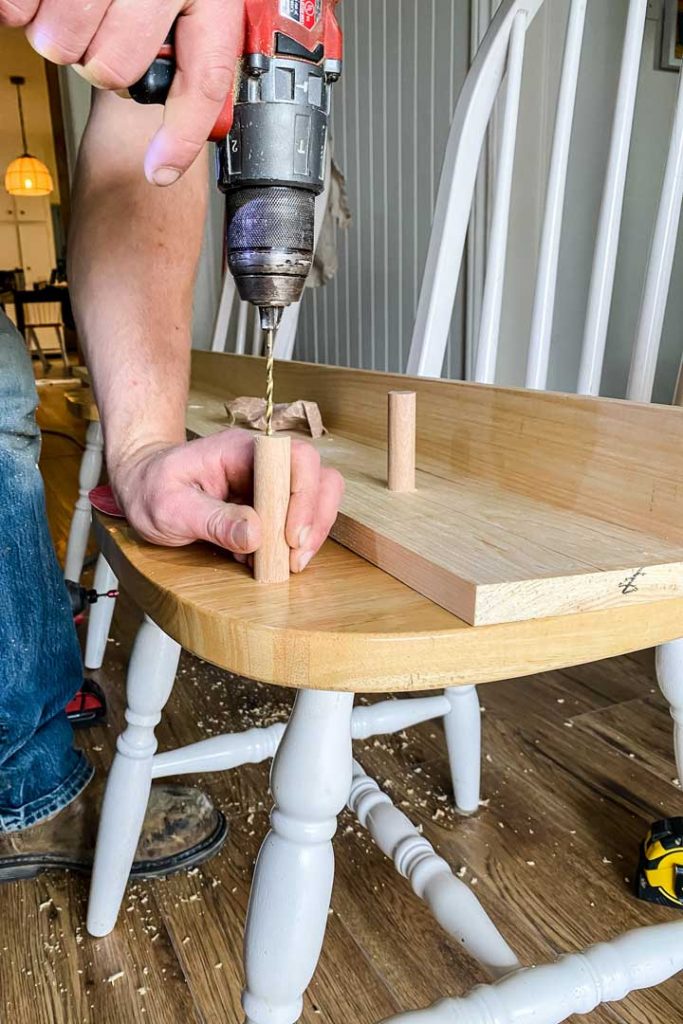
    measure 1x6 pine boards 8 inches apart for pegs

    Drill Peg Holes:

    Start with a ⅛" drill bit, to prevent the wood from splitting. Drill starting holes every marked 8".

    prill drill pine board to prevent wood from spliting

    Go back in with a ¾" spade bit, drilling halfway through the 1"x6" pine board. Continue for all, spacing 8" evenly.

    Using a ¾ spade bit dill halfway trough the board. This is where the peg will sit.
    Building a custom peg rail with shelf for front entryway

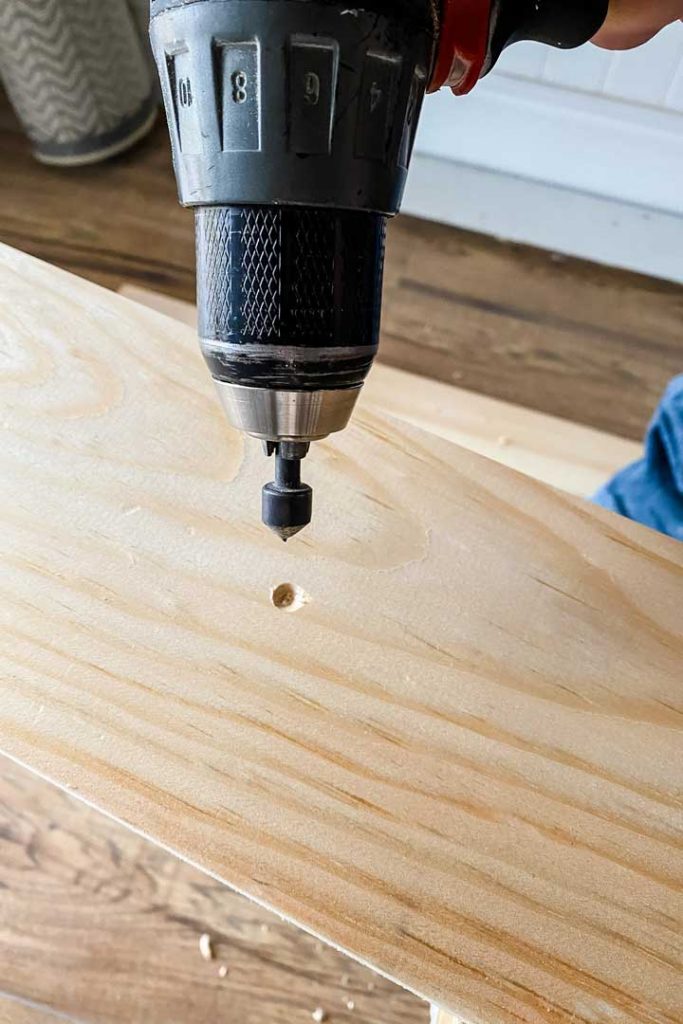
    Turn over the 1"x6" pine board. Making sure to line up with the same 8" spacing, countersink just enough to cover the head of your screws.

    countersink drill bit

    Attach the shelf:

    Apply wood glue to the top edge of the 1"x 6" board.

    Adding a shelf to a peg rail for plants and decor

    Using a nail gun, fasten the 1"x4" pine board to the 1"x6". Be careful not to shoot a nail through the back or the front of the 1"x6".
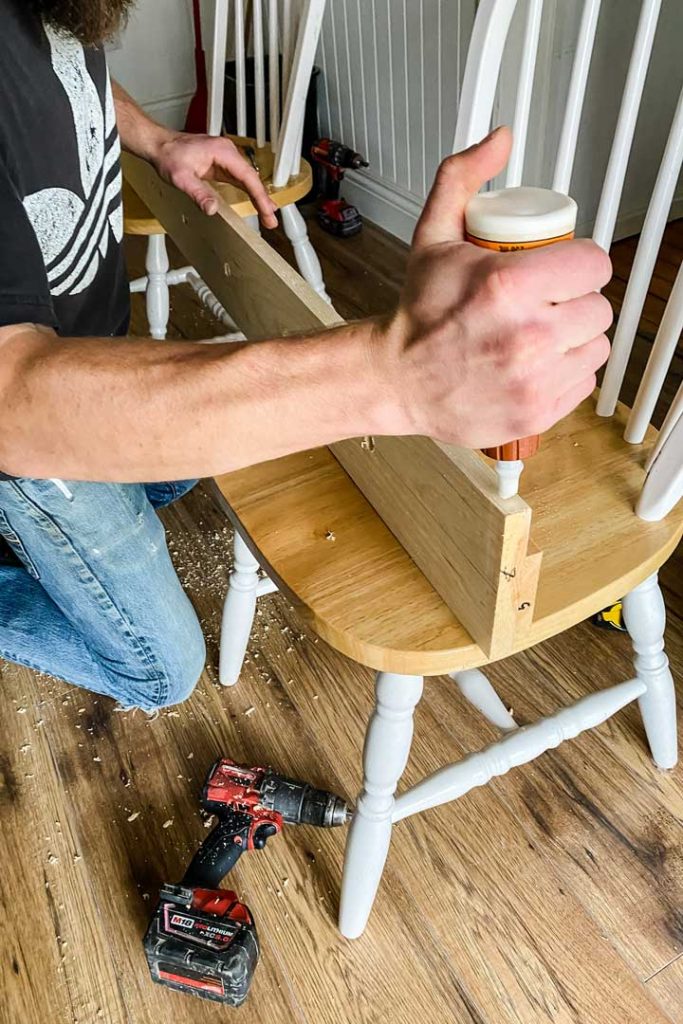
    Using a brad nailer attach 1x4 to 1x6 to create peg rail shelf

    Attach wooden pegs:

    Cut ¾" dowel into 3" lengths. Pre-drill the centre of the dowel with a ⅛" drill bit.

    Pre drill ¾" dowel for pegs
    No. 8 ¾" Wood Screws

    Using ¾" wood screws attach the pegs to the 1"x6" pine board.

    Attaching pegs

    Hang peg rail shelf:

    Using a level, hold the peg rail up to the wall and attach to the studs using 2" wood screws.

    Level peg rail with shelf on wall and fasten to studs using wood screws

    Finishing touches:

    Customize for your space. To complete the look we were going for we primed and painted it the same colour as the walls.

    white modern peg rail
    DIY White modern peg rail shelf in front entryway

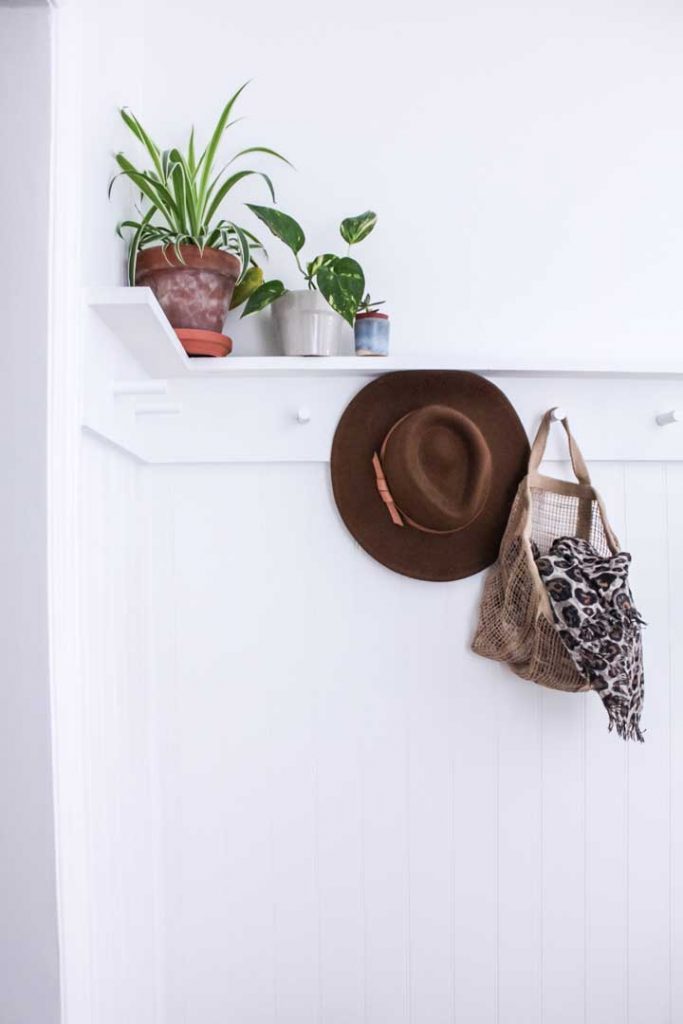
    Leaving everything white allows the space to pop. This peg rail shelf adds function without competing for design. In a front hallway where things can look busy, we needed function and simplicity!

    More Furniture Builds

    Easy DIY Floating Shelves we built for FREE!

    How To Make an Extra Long Curtain Rod

    DIY Modern Accent Wall with Hooks for Entryway

    EASY Ikea Mammut Children's Table Hack

    PIN IT FOR LATER:

    « 9 Ways How to Update Your Home Using Paint
    Remove Entryway Closet: Why It's Better Without It »
    314 shares
    • Share
    • Tweet

    Reader Interactions

    Comments

    1. Jenny

      February 04, 2021 at 10:39 am

      Sending this to my husband! Would be perfect for our entryway. Thank you!

      • Aly @ Iekel Road Home

        February 04, 2021 at 4:22 pm

        You'll have to let me know if you go ahead and build it! I'd love to see pictures!

    2. Liz

      February 04, 2021 at 10:57 am

      This looks very doable! I may have to ask my husband to help me on this though, since I'm not great with tools! Thanks for the tutorial. Will definitely be putting this in my new home!

      • Aly @ Iekel Road Home

        February 04, 2021 at 4:22 pm

        I was surprised at how simple it really was, you can totally pull it off!
        Do send pictures if you do!

    Primary Sidebar

    Hi! We are Greg and Aly, DIY enthusiast, licensed plumber and graphic designer, updating our home one project at a time. Follow along for budget friendly DIY home decor ideas. 

    More about me →

    Popular

    • How to Update Old Wicker Furniture
    • How To Paint a Brick Fireplace Step by Step
    • How to Create a Home Library Living Room
    • Hamuq Mattress Review: Canadian Hybrid Mattress

    Footer

    ↑ back to top

    About

    • About
    • Privacy Policy

    Newsletter

    • Sign Up! for emails and updates

    More

    • DIY
    • Design

    As an Amazon Associate I earn from qualifying purchases.

    Copyright © 2021 Iekel Road Home

    314 shares