Change a receptacle in nine easy steps. I wanted to know how to change a receptacle so I had Greg sit in the other room and verbally instruct me on how to go about this process. I was able to change out our broken and outdated receptacle for a new one without any trouble. So I hope these steps help you as well!

What you need to change a receptacle
Proximity Tester (can do without, but strongly recommended)
Screwdriver
Wire Cutter and Stripper
Linesman Pliers
Receptacle (new or your choice)
Electrical Tape
Before you being to change a receptacle:
Turn off power to the receptacle by locating the correct breaker in your electrical box.

Step 1: Take faceplate off receptacle
To remove faceplate you will need a simple flathead screwdriver. Ours was broken, so it just popped right off.

Step 2: Test with proximity tester
Test the receptacle to make sure there is no power coming in. To do this stick the proximity tester into one of the holes in the receptacle.

Step 3: Remove screws holding receptacle in place
Use a corresponding screwdriver to remove the screws holding the receptacle in place. You may even need to use a knife as sometimes paint can hold them in place to the wall.

Step 4: Pull receptacle out of box
Pull the receptacle out of the box to expose all the wires, giving yourself room to work.
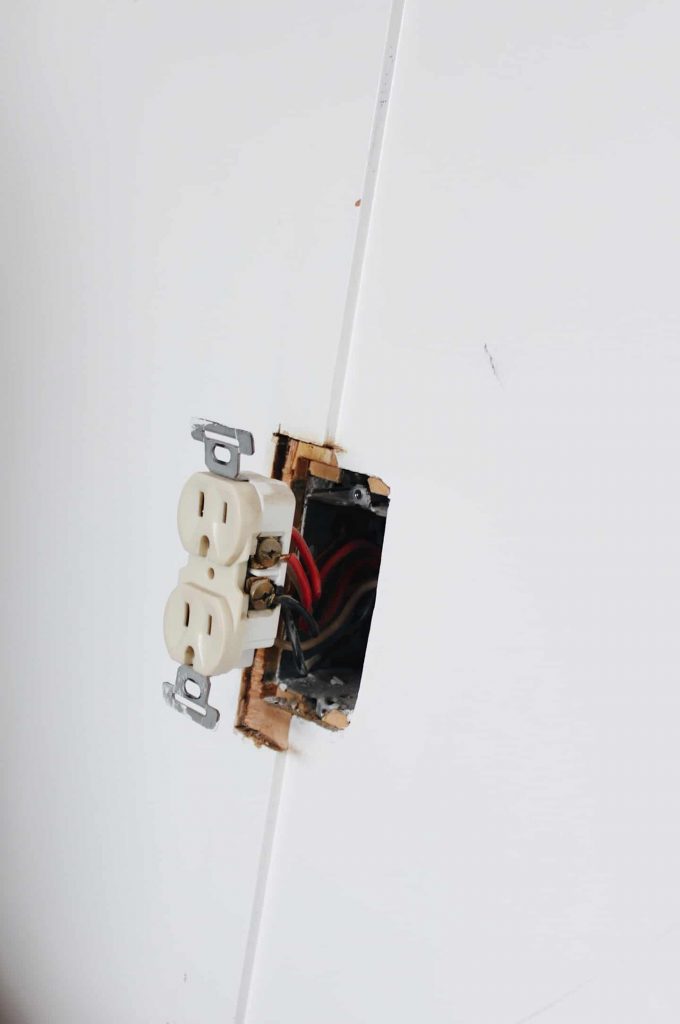
Step 5: Remove wire from side of receptacle
Remove the wires by loosening the screws on each side of the receptacle. Spread the wires apart so you remember where they reattach.


Step 6: Break off jumper tab * can be skipped
In our case, the top receptacle is controlled by a light switch, which is what the red wire is for. So we had to break off the jumper tab that attached between the two gold screws. If this is not your situation, leave the jumper tab alone

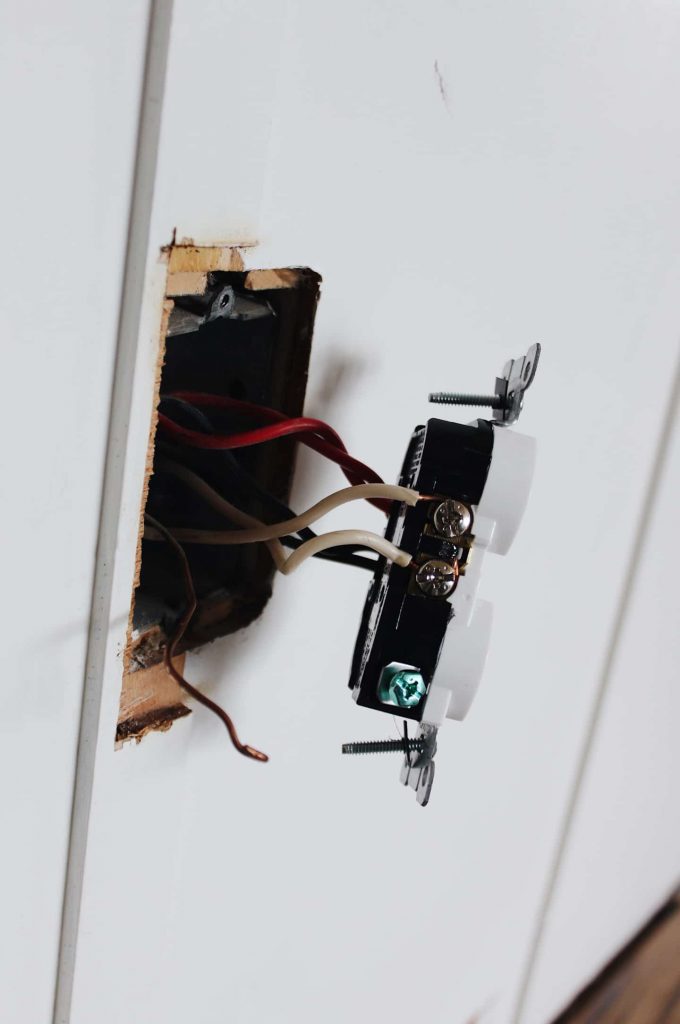
Step 7: Reconnect all wires to the appropriate places
*Black wires belong to gold screws
*White wires belong to silver screws
*Copper bare wire belongs to green screw
Step 8: Tape around receptacle covering screws and wires
Using electrical tape, tape around all wires and screws.

Step 9: Put receptacle and plate cover back together
Put everything back together using your corresponding screwdrivers.

How change a receptacle to update your space

Before we had a decorative light switch plate and an off white receptacle plate that was broken.
Now our faceplates just blend right into our wall, and you can hardly notice them, just the way it should be!
Happy updating! This was my first time changing a receptacle and I can confidently say that I will be able to do it again in the future without any help! I hope this encourages you to try it for yourself 🙂
More Home Updates
How To Change a Light Switch to Update Your Space
How To Change A Light Fixture for Beginners
How To Install Cabinet Hardware: Before and After Laundry Room
How To Update Brass Fireplace Insert with Spray Paint
PIN IT FOR LATER

This is super helpful!!! Did not know how to do that I probably would have just left it - ha! Thank you!
Thank you, Alexa! I did not know either. Once Greg explained it all to me I thought, wow not so hard after all!
It's always good to know the basics of how to do things like this! Thanks for laying it all out.
Thank you, Amy! My thoughts exactly!
What a helpful tutorial! This sounds so doable and makes a big difference for any room! Maybe I should try it out some time myself - even though my husband does a beautiful and perfect job with everything electrical 🙂
I would have normally just left it up to my husband too, as he takes care of everything electrical. But this time I thought I would give it a go-to see how hard it would be for us that no absolutely nothing about electrical. And you are right, totally doable!